@Kris_Smith, I found a ‘first look’ at the new Topaz Labs Photo AI, and I’m not enthusiastic about it.
Admittedly, it’s still in development but it looks like it’s an all-in-one bundle that’s aimed at lower end users and is making too many decisions for me – the sort of thing that may work in some cases but not all.
I subscribe to the KISS method. My workflow couldn’t be simpler and is as non-destructive as possible. It is admittedly “classic” in that it grew out of using PS since v4, in 1996 (8 years before I got my first digital camera), but I think classic also translates to simple, robust, and as editable as possible. I’ve used LR since v2 in 2008.
I do as much as can be done in LR Develop module (equivalent to ACR for those who don’t use LR).
I rarely do any sharpening here beyond the default, which compensates for debayering softness.
Open the raw file in PS and make a copy of the BG layer.
(This extra layer can be skipped but I like to have the original in the stack.
Run Topaz Denoise AI – as a PS plug-in – which gives me the denoised layer right in the stack.
Link all pixel layers and those that have masks to the BG to avoid inadvertent moves.
If there are areas that are too smooth, add a mask and brush over them, with low opacity if needed. This really should not be needed with the best choice of method and possible tweaking of sliders. I rarely use anything except the default slider positions for the method.
Make a copy of the Denoise layer (or if it has a mask, do a stamped layer).
Run Topaz Sharpen if needed. (I rarely need to do this.)
Add a mask and brush over any overdone areas, with low opacity if needed.
Make a copy layer (or stamp if there is a mask) and do any cloning. I often do several copy layers as I go more boldly into cloning steps, as I may find later that I’ve gone too far. I love that I can toggle layer visibility for a better look at what I’ve done and tweak as needed.
Now do any adjustments as adjustment layers, not as adjustments on a copy pixel layer. These adjustment layers can be edited non-destructively, and the denoise and sharpening steps can be repeated on those original layers if needed. (But I’d have to re-do any cloning.)
Then at the top of the stack do a stamped layer for any adjustments that need to be done on pixel layers, such as the Nik collection.
I have gone from a completely editable raw file to PS, which will have some layers from Topaz, Nik or possibly other plug-ins, and when finished I have a layered master PS file that (when I save it) goes back into the LR filmstrip next to the original raw file.
Export the finished file from LR as a JPEG sized for posting here (with a saved preset) or as needed for any other use – a TIFF or JPEG for printing or any other sharing.
Add to my web site with a simple drag and drop of the master file into the Smugmug gallery list in the Publish section of the Library module (another plug-in). That’s where I let the software set the export parameters.
I’ve tried Gigapixel for an old file I’d love to print big and it was no improvement over PS’s upsampling, which wasn’t good enough. I’ll hope for future improvements.
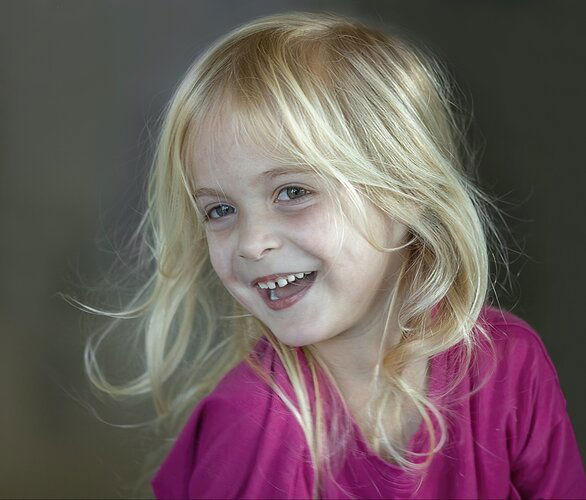
PS – thanks for admiring Wylie – she is as bright and capable as she is cute! She was at a falconry demonstration a year ago, at age 5 1/2 and loved it. The minimum age for handling the birds was 8 but the falconer volunteered to let her fly a Harris’s Hawk that was almost as big as she was, “because she was so cool”. She came through on the cool and got to fly a couple of other birds!

