Hi Jon and welcome to NPN! 
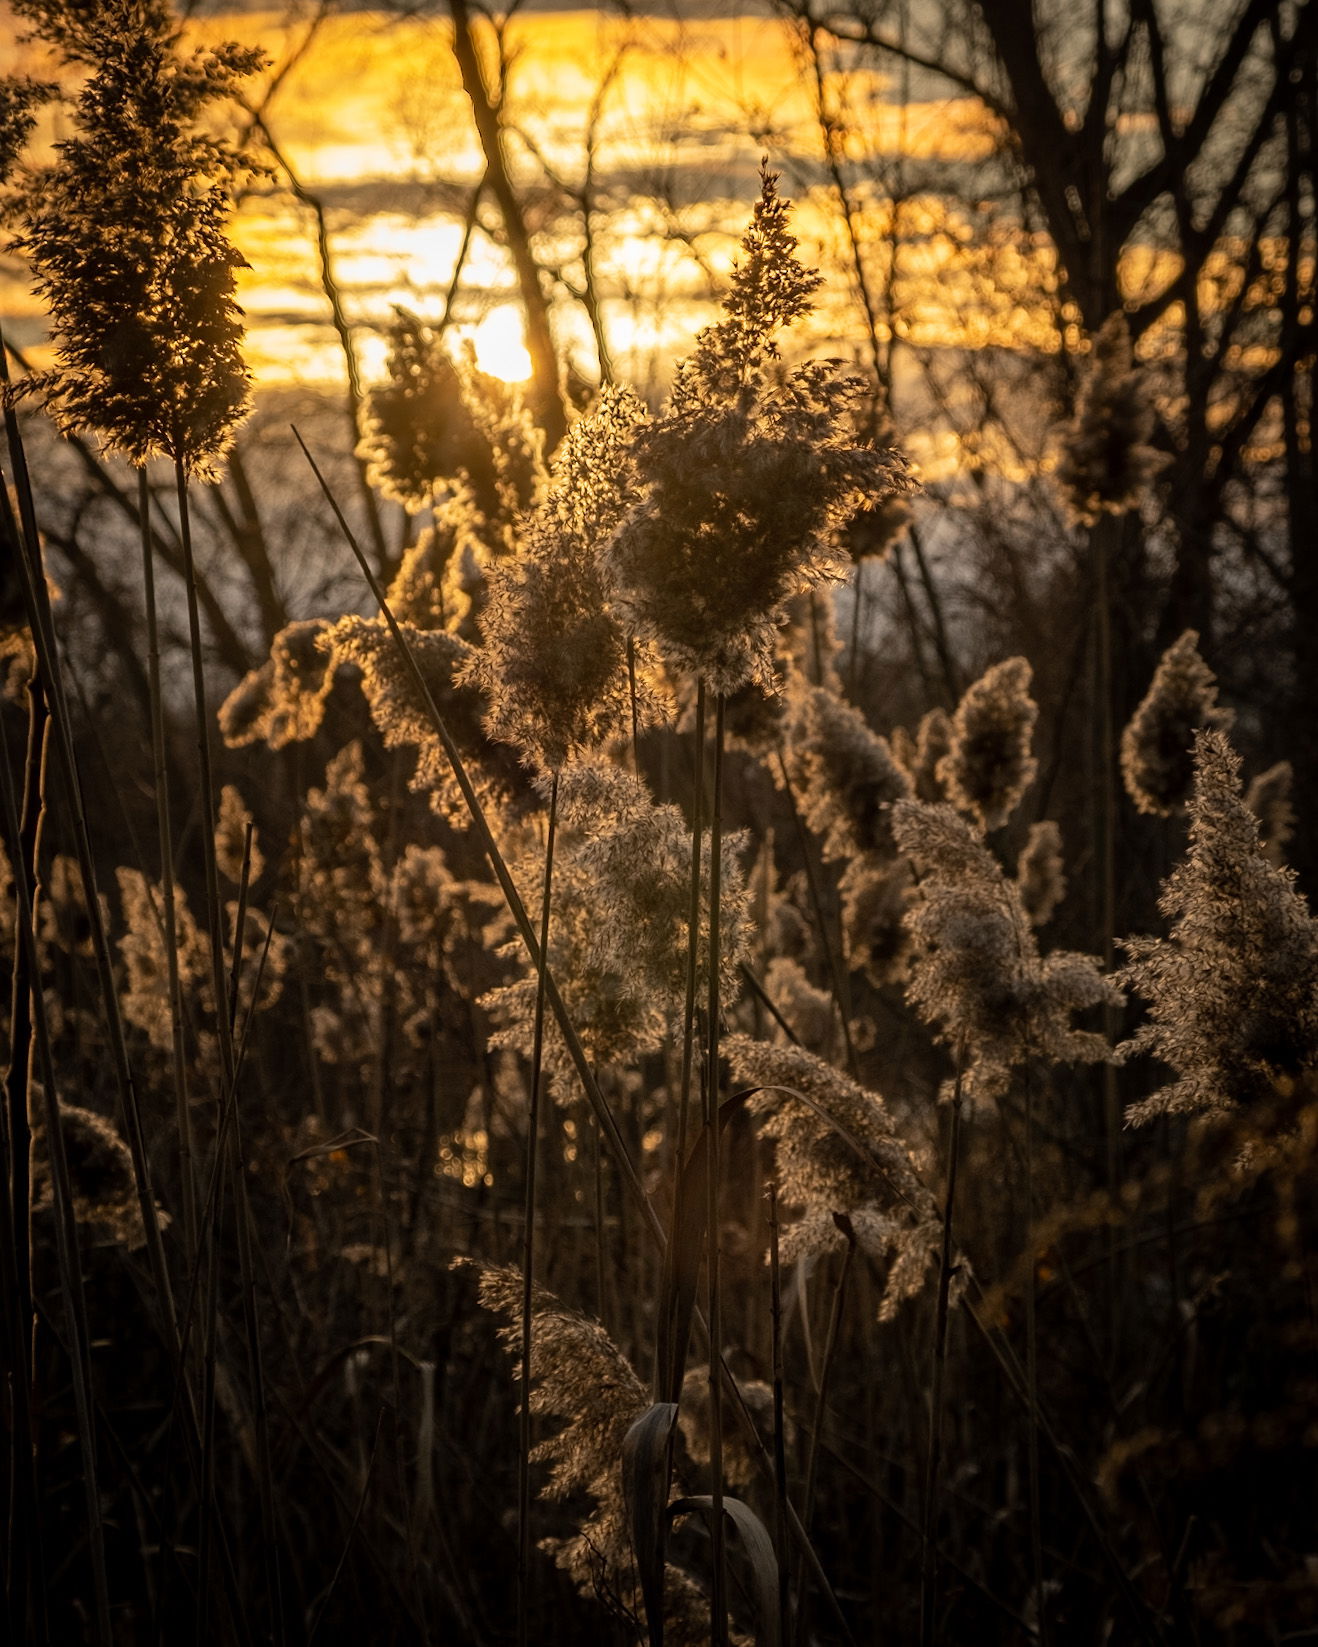
I really appreciate what you have captured here, dried grass like this seems to be the perfect medium for highlighting the sunlight coming through, those delicate edges allow the light to “Glow” and this image does a fantastic job of showing the light that caught your attention.
It may have been better to stop down the aperture to deepen the DOF here and it would be good keep DOF in mind when shooting in the field, but it’s not always easy to think of everything when shooting, especially when the moment you want to capture is quickly disappearing.
The shallow DOF doesn’t bother me in this image because the sunlight is the star here (pun intended) 
It’s tough, if not impossible, to find scenes like this without some amount of distracting elements that cause it to appear cluttered or busy.
In my opinion, the cause of clutter (in some cases “Chaos”) is horizontal or diagonal lines within the main attraction, in this case the main attraction is the sunlight coming through the dried grass heads and those stems that cross the image at an angle are causing it to appear cluttered.
There are simple, yet tedious and sometimes time consuming methods for fixing that issue.
The clone stamp tool in Ps (photoshop) can be a powerful tool when it comes to the removing the clutter.
In the example edit below, I used the clone stamp tool with the mode set to normal, opacity set at 100% with 40% hardness, I made the diameter of the stamp roughly 14 pixels, then I set the clone stamp origin approximately one or two diameters away from where I want to clone (14 to 28 pixels). Oh, yeah, “Uncheck” the “Aligned” feature which also helps to prevent any repeat patterns.
The main key in preventing any repeat patterns is to reset the clone origin extremely often, in most cases you have to reset the origin every time you do a stamp which means practically hovering your finger over the “Alt” key on your keyboard (Alt being the reset key).
Then, once all of the cloning is finished, use the blur tool with the mode set to darken, set strength at 100%, size at 20 pixels or so and carefully go over everything that is already blurred including the areas you’ve cloned but not the areas that are in focus, this process helps with blending everything together.
I noticed that the bright areas at the top are sampling at 251 (255 being pure white), it’s not so much that this area is too bright or blown out, it’s that it’s white and not that lovely orange-ish yellow. Those areas are very difficult to change or fix by using burn tools, that rarely ever looks good, but, you can select an area that does look good, copy it and move that copied selection over the white spot, then use opacity to blend it in and carefully erase the edges with a soft eraser tool using a small diameter brush (like 40 pixels or so). Keep in my that the pixel size depends on the size of the image, if its a raw image, larger size brushes will be required but you can use the width of a grass stem as a guide for brush size.
I also felt that a good portion of the top wasn’t really needed since the main subject is the light coming through the dried grass heads and the sort of glowing stem on the left was taking away from the theme as well, so I cropped out what felt was about right. Please crop it to the degree that you prefer, my crop is merely an example to demonstrate my thoughts.
I put these together here so you can see them in a side by side manner, just switch between them to compare.
This technique can be used on a very wide variety of images, basically anything that you feel a connection with.
Please keep in mind that NPN is a learning site, so, any images you do this kind of treatment to, please post the original version along with the edited version and to some degree explain what you did so others can learn from your experiences with that image (Much in the same way I displayed your images below).
And BTW, this isn’t a technique that artificial intelligence (AI) can do, it has to be done manfully but with practice, it can be done in a short time, this edit took me about 35 or 40 minutes.
It took me longer to save the images and write this response than it did to do the editing itself (with the explanations on what I did).
I look at this technique as just another tool to add to your collection of photography/art tools.
And, I hope this helps you and/or someone else that may be reading this topic.
Wonderful image BTW!!!
Your Original
Cropped with no edits version (below).
With stems cloned out and white spots covered (below)